아래는 이 글의 동영상 강의입니다.
서버를 운영하다보면 정기적으로 Job을 실행해야 하는 경우가 생깁니다.
이럴때 정기적으로 Job을 자동으로 실행해 주는 것을 스케줄러라고 합니다.
nodejs에서는 node-shedule이라는 패키지를 사용하면 스케줄러를 쉽게 만들 수 있습니다.
node express 에서 scheduler를 만드는 방법을 알아 보겠습니다.
우선 node 프로젝트를 생성합니다.
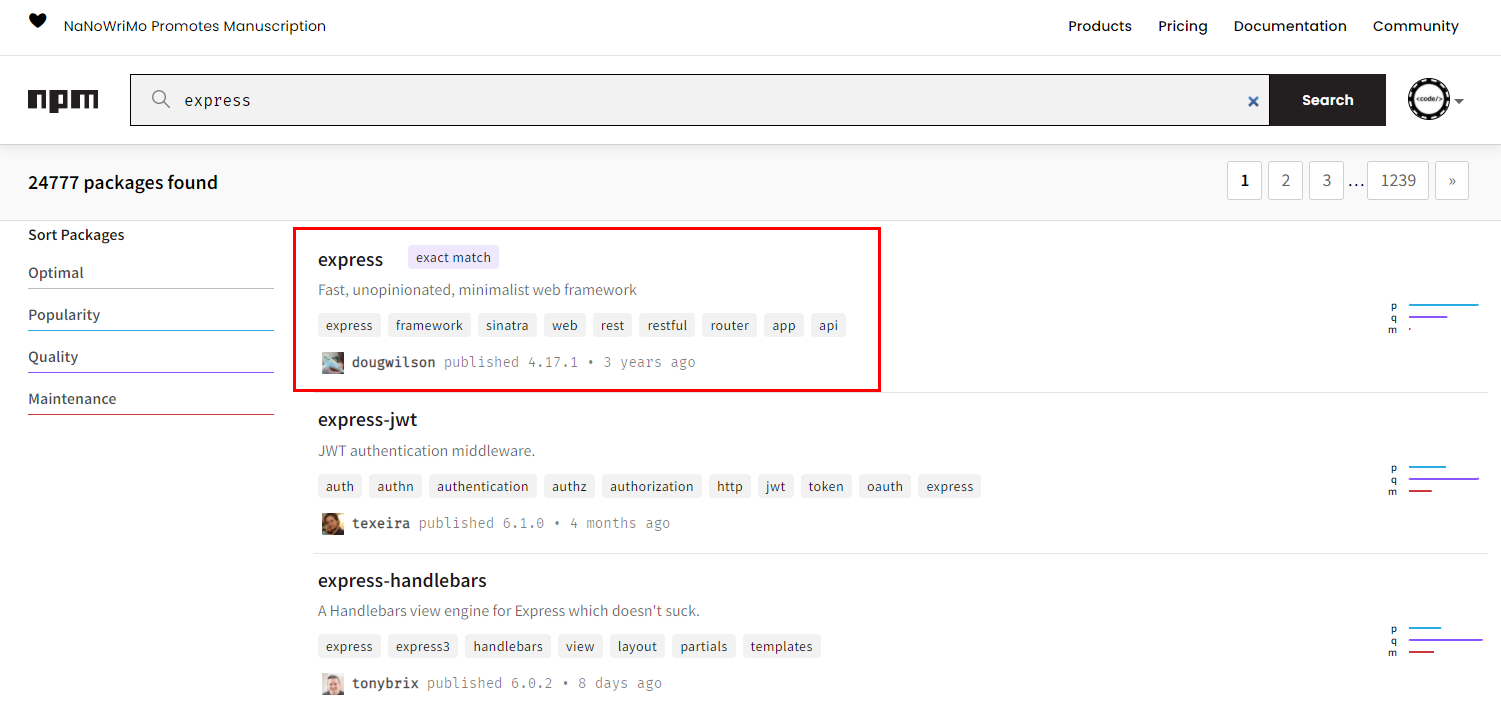
node init -y프로젝트에 express를 추가합니다.
npm i expressapp.js 파일을 만들고 다음 내용을 추가합니다.
const express = require('express')
const app = express()

app.get('/', function (req, res) {
  res.send('Hello World')
})

app.listen(3000)
서버를 실행합니다.
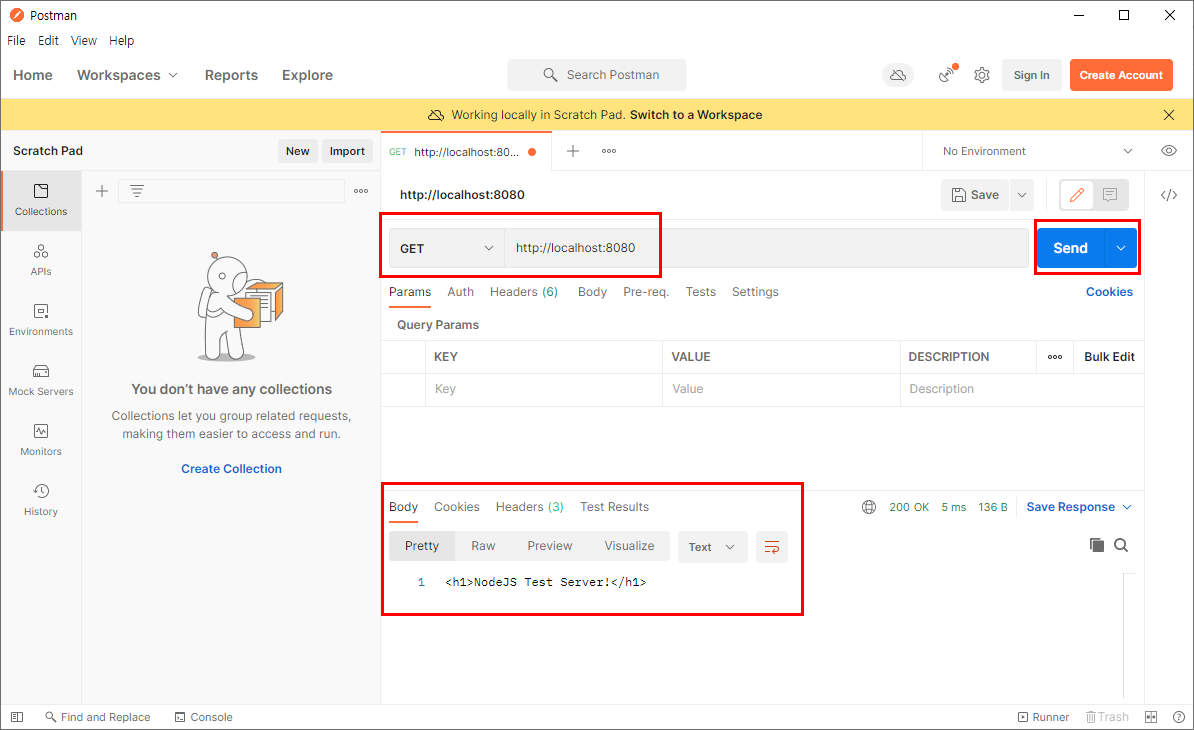
node app브라우저 주소창에 http://localhost:3000을 입력하고 "Hello World"가 나오는지 확인 합니다.
스케줄러를 만들기 위해 사용할 패키지를 다음 url에서 확인합니다.
https://github.com/node-schedule/node-schedule
GitHub - node-schedule/node-schedule: A cron-like and not-cron-like job scheduler for Node.
A cron-like and not-cron-like job scheduler for Node. - GitHub - node-schedule/node-schedule: A cron-like and not-cron-like job scheduler for Node.
github.com
프로젝트에 node-schedule을 설치합니다.
npm i node-scheduleapp.js에 다음 내용을 추가합니다.
const schedule = require('node-schedule');
const express = require('express');
const app = express();

app.get('/', function (req, res) {
  res.send('Hello World');
})

app.listen(3000, function(){
    console.log('Express start on port 3000!');
    schedule.scheduleJob('* * * * * *', function(){
        console.log('The answer to life, the universe, and everything!');
    });
});
프로그램을 실행합니다.
node app실행 결과는 다음과 같습니다.

스케쥴일 1초 마다 수행되는 것을 확인할 수 있습니다.
스케줄을 설정하는 법은 다음과 같습니다.
*    *    *    *    *    *
┬    ┬    ┬    ┬    ┬    ┬
│    │    │    │    │    │
│    │    │    │    │    └ day of week (0 - 7) (0 or 7 is Sun)
│    │    │    │    └───── month (1 - 12)
│    │    │    └────────── day of month (1 - 31)
│    │    └─────────────── hour (0 - 23)
│    └──────────────────── minute (0 - 59)
└───────────────────────── second (0 - 59, OPTIONAL)
앞에서 부터 초, 분, 시, 일, 월, 요일의 순입니다.
지속적인 실행은 *를 사용하면됩니다.
특정 시간에 실행하는 것은 아래와 같이 작성하면됩니다.
- 매초 실행 : * * * * * *
- 매분 실행 : * * * * *
- 매분 0초에 실행 : 0 * * * * *
- 매분 10초에 실행 : 10 * * * * *
- 매시 1분 10초에 실행 : 10 1 * * * *
다음은 매분 0초에 실행하도록 변경한 예입니다.
app.listen(3000, function(){
    console.log('Express start on port 3000!');
    schedule.scheduleJob('0 * * * * *', function(){
        console.log(new Date() + ' scheduler running!');
    });
});
실행 결과는 다음과 같습니다.

이상으로 Express에서 스케줄러를 만드는 방법이었습니다.

'Nodejs 기초 동영상강좌' 카테고리의 다른 글
| NodeJS기초-11.Express 라우팅 분리하기 (0) | 2021.12.08 |
|---|---|
| NodeJS기초-10.Express 서버 만들기2-미들웨어 (0) | 2021.12.04 |
| NodeJS기초-09.Express 서버 만들기1-특징과설치 (0) | 2021.12.03 |
| NodeJS기초-08.NodeJS Http 서버 만들기 (0) | 2021.11.29 |
| NodeJS기초-07.NodeJS 서버 테스트를 위한 Postman 설치 및 테스트 (0) | 2021.11.29 |
| NodeJS기초-06.NodeJS + MySQL 연동하기 (0) | 2021.11.28 |
| NodeJS기초-05.NodeJS 버전을 쉽게 변경하는 법 - NVM (0) | 2021.11.27 |
| NodeJS기초-04.NodeJS module과 require 사용법 (0) | 2021.11.22 |