반응형
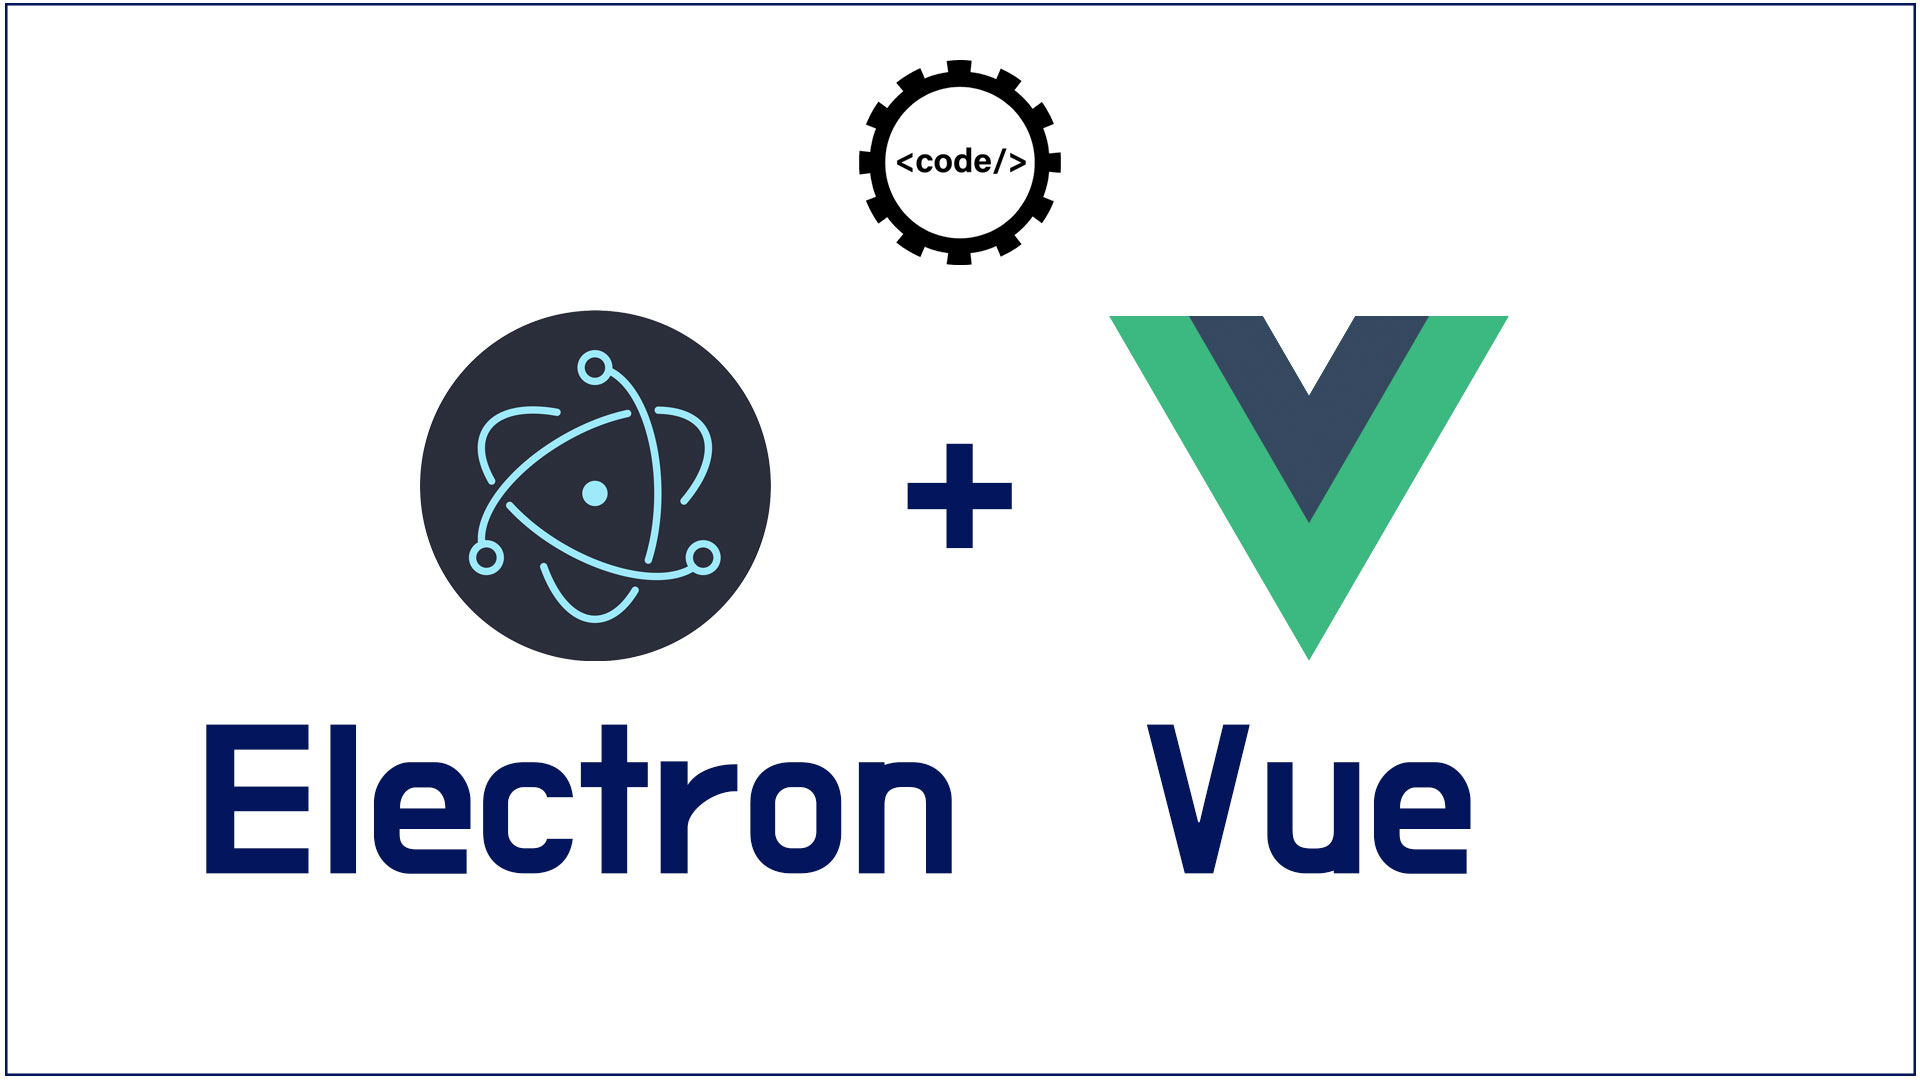
Vue.js를 사용해서 일렉트론 앱을 만드는 법에 대해 알아봅니다.
Vue CLI 설치
우선 Vue cli를 전역으로 설치합니다.
- 기존 vue/cli가 @vue/cli로 변경되었습니다.
- 이전버전이 설치되어 있다면 삭제 후에 설치해 주세요(npm uninstall vue/cli)
npm i -g @vue/cli설치가 완료되면 다음 명령으로 설치 버전을 확인합니다.
vue --version
Vue 프로젝트 생성
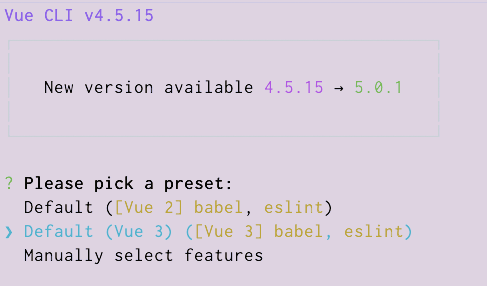
이제 vue 프로젝트를 만듭니다.
- 프로젝트명 : elec-vue
vue create elec-vue- Vue 버전 선택 : 최신 버전인 Vue 3를 선택합니다.
- 아래와 같이 설치가 진행됩니다.
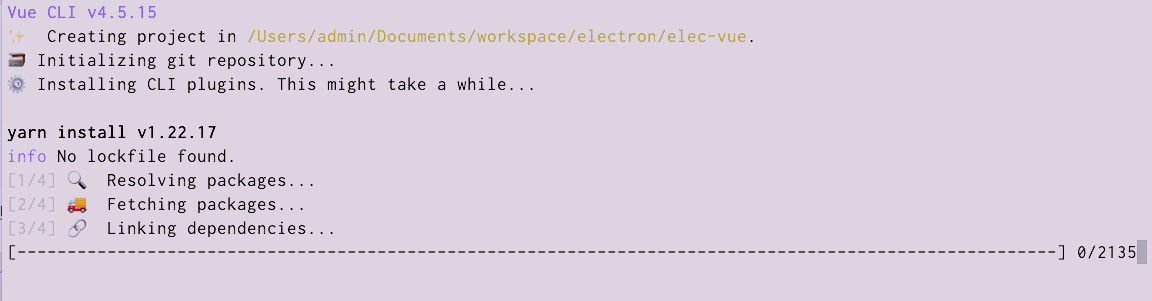
- 잠시 후 설치가 완료됩니다.

- 다음 명령어로 프로젝트를 실행합니다.
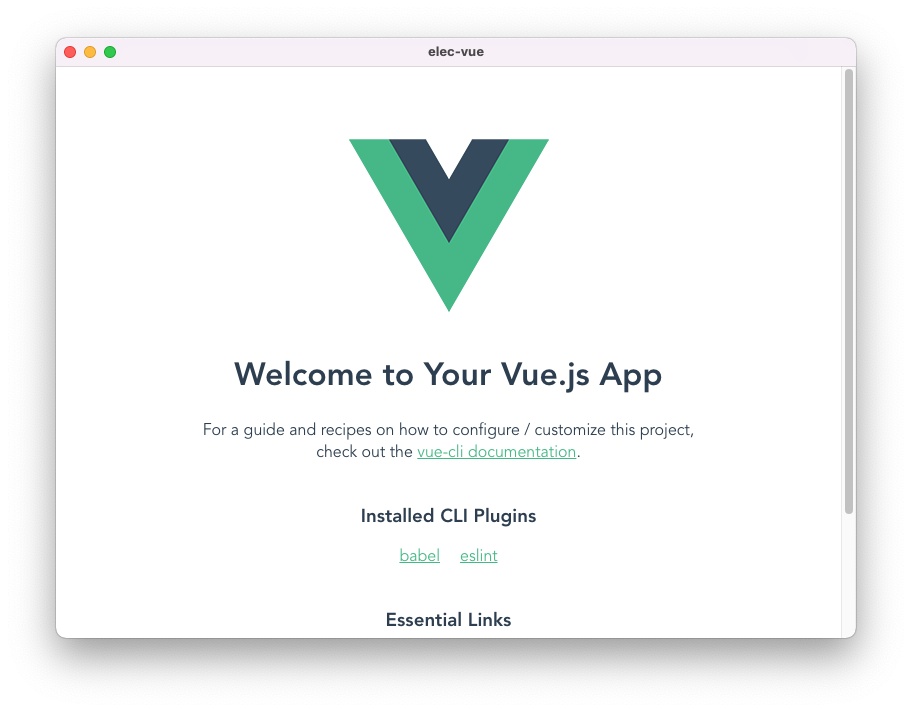
yarn serve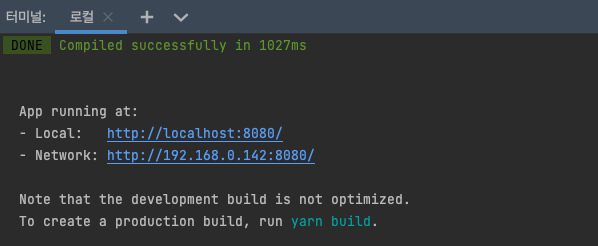
- http://localhost:8080으로 접속하면 다음과 같은 화면이 나옵니다.

- ctrl + C를 눌러 실행을 종료합니다.
프로젝트에 Electron Builder 추가
Electron Builder는 기존 프로젝트를 Electron으로 바꿔주고 쉽게 build를 할 수 있게 돕습니다.
Vue CLI Plugin으로 제공하는 Electron을 사용하면 쉽게 설치가 가능합니다.
https://nklayman.github.io/vue-cli-plugin-electron-builder/
Vue CLI Plugin Electron Builder
nklayman.github.io
- 다음 명령으로 Electron Builder를 추가합니다.
vue add electron-builder- Electron 버전 선택 : 13.0.0
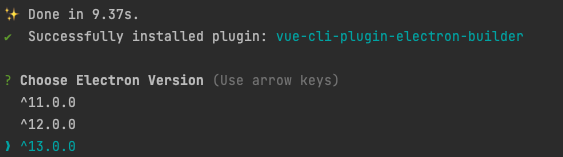
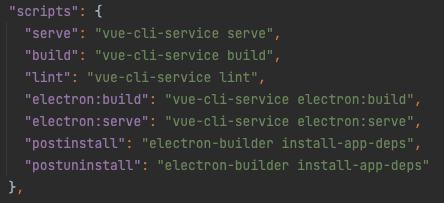
- 설치가 완료되면 package.json에 다음과 같이 스크립트가 추가됩니다.'
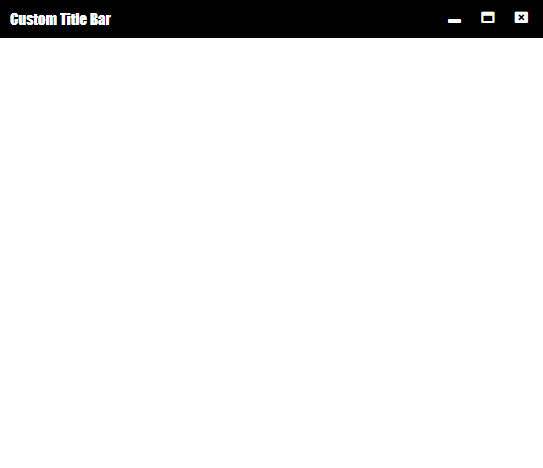
Electron 실행
- 이제 Electron이 추가된 프로젝트를 실행합니다.(package.json 참고)
yarn electron:serve- 실행 화면은 다음과 같습니다.

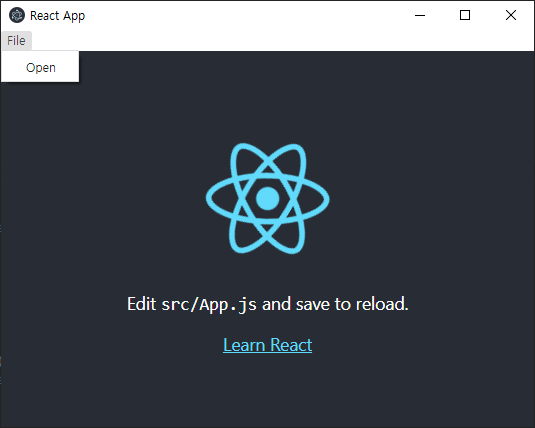
Electron Build
- 다음 명령으로 App을 Build 할 수 있습니다.
yarn electron:build- 빌드가 완료되면 다음과 같이 dist_electron 폴더에 실행 파일이 생성됩니다.
- 맥의 경우 dmg 파일로, 윈도우의 경우는 exe 파일로 생성됩니다.

- 생성된 실행파일을 더블클릭하면 다음과 같이 Application이 실행됩니다.
이렇게 vue 프로젝트에 electron builder를 추가하면 쉽게 electron+vue 프로젝트를 만들 수 있습니다.
반응형
'일렉트론' 카테고리의 다른 글
| 일렉트론기초-13.Electron + React로 IPC 통신하기 (0) | 2021.11.13 |
|---|---|
| 일렉트론기초-12.React + Electron 한방에 띄우기 (7) | 2021.11.04 |
| 일렉트론기초-11.일렉트론 MySQL 연동 (0) | 2021.10.30 |
| 일렉트론기초-10.일렉트론 사이드 메뉴 만들기 (0) | 2021.10.09 |
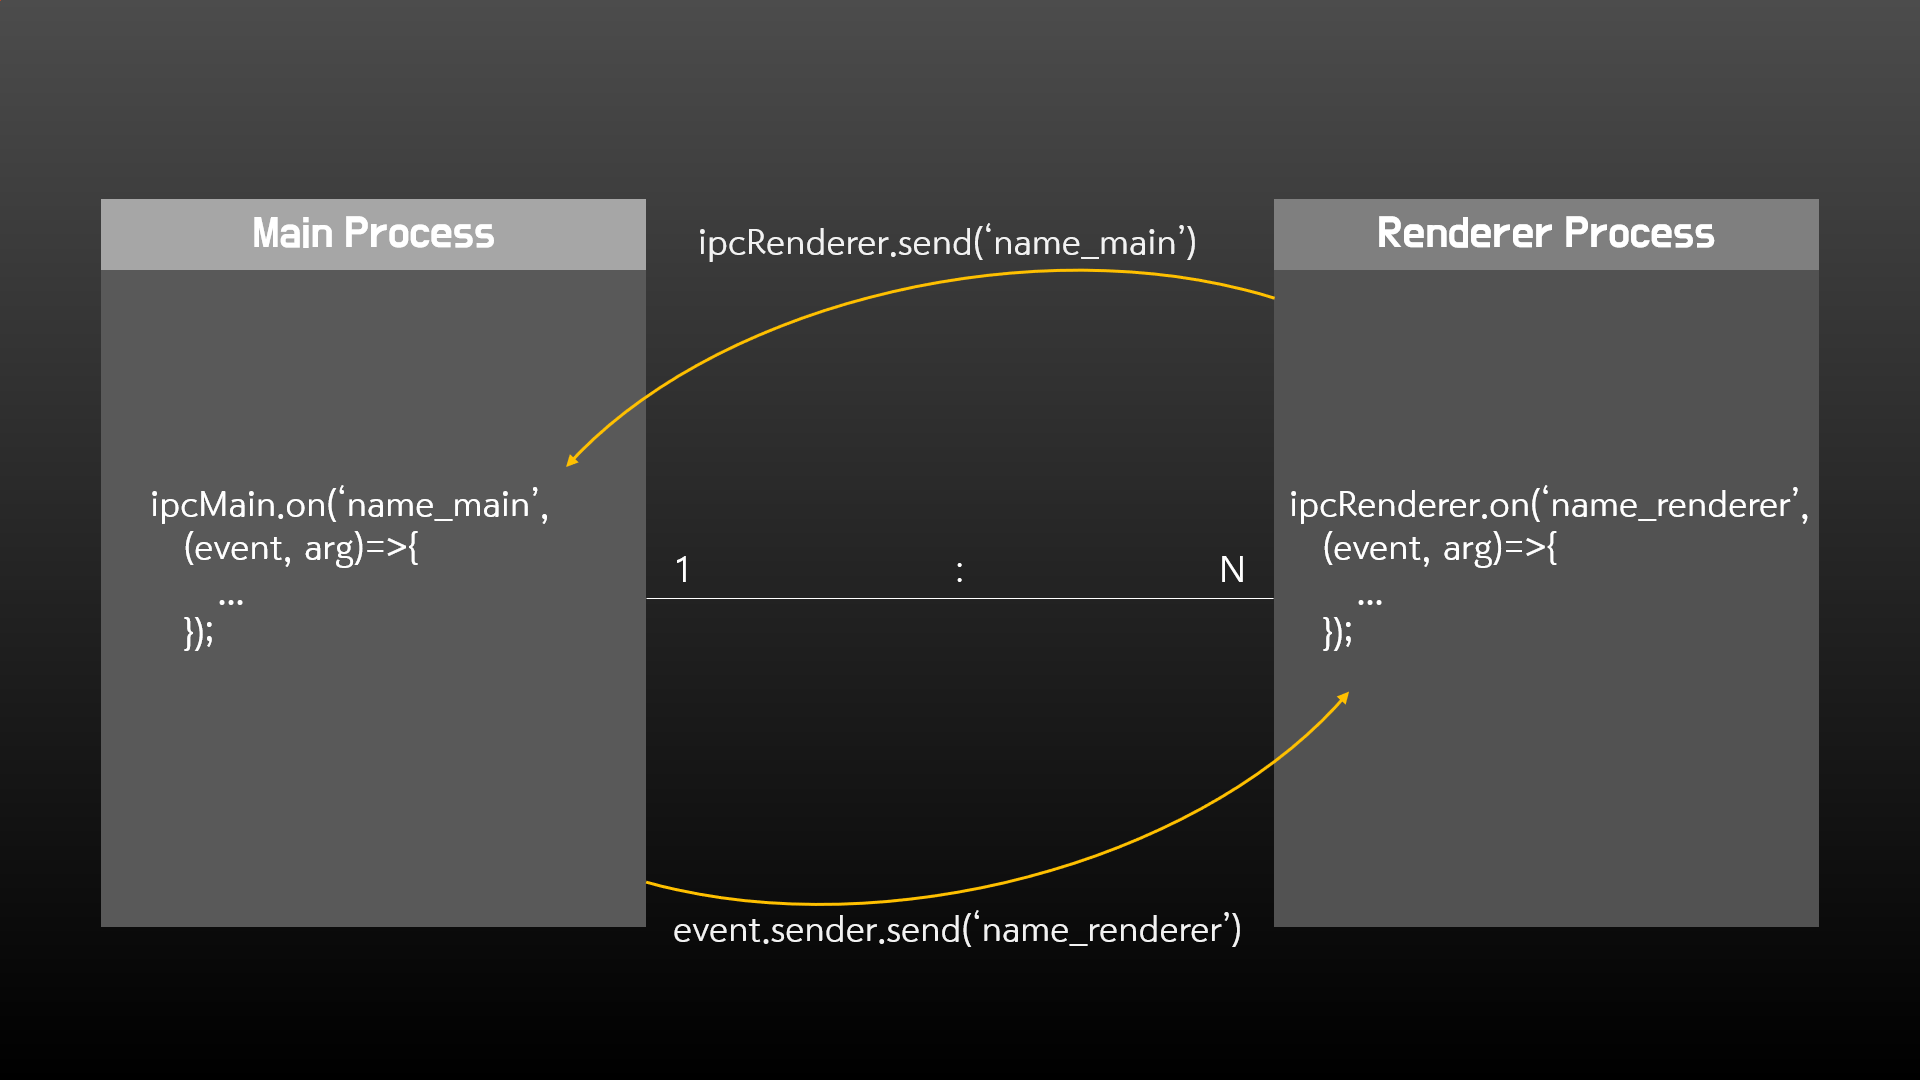
| 일렉트론기초-09.일렉트론 커스텀 타이틀바 만들기-프로그램개발(IPC) (0) | 2021.10.04 |
| 일렉트론기초-08.일렉트론 커스텀 타이틀바 만들기-화면디자인 (0) | 2021.10.04 |
| 일렉트론기초-07.일렉트론 화면 개발하기 (0) | 2021.10.03 |
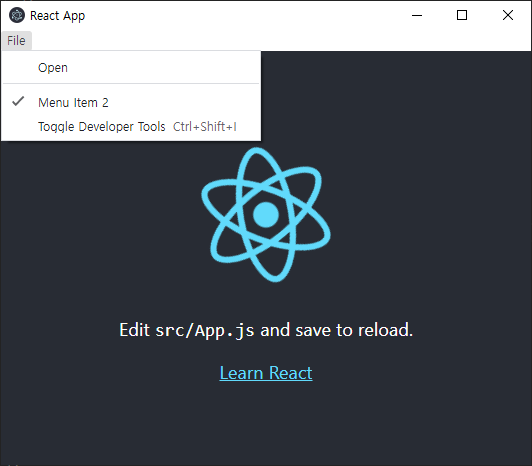
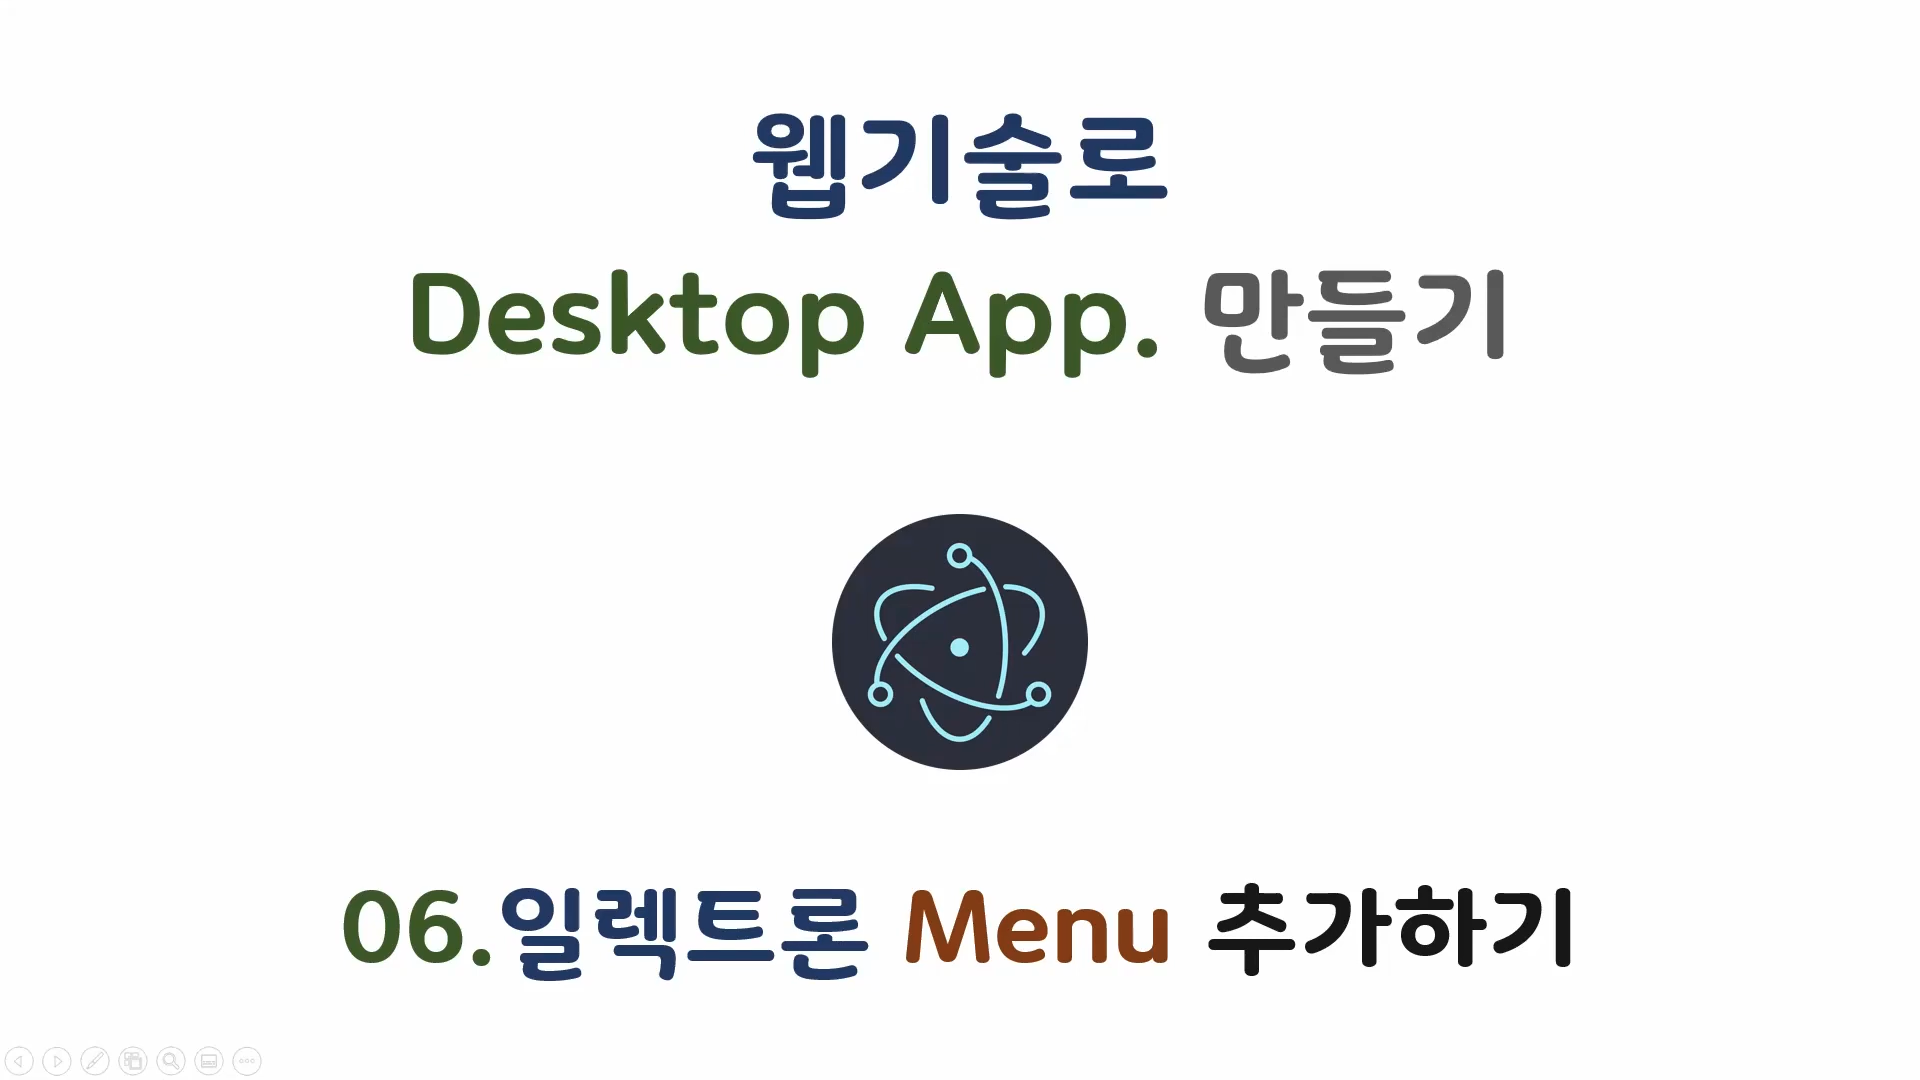
| 일렉트론기초-06.일렉트론 메뉴 추가하기 (0) | 2021.10.01 |