이 글의 동영상 강의입니다.

최종 소스는 github를 참고하시기 바랍니다.
https://github.com/CodeGearGit/react-electron
GitHub - CodeGearGit/react-electron: React + Electron Project - Basic Setting
React + Electron Project - Basic Setting. Contribute to CodeGearGit/react-electron development by creating an account on GitHub.
github.com
이전에 진행했던 05.React 프로젝트에 일렉트론을 추가하는 법 에 이어서
05.React 프로젝트에 일렉트론을 추가하는 법
동영상 강좌 https://youtu.be/o4ZjkibiD8A 리액트 프로젝트 만들기(create-react-app) npx create-react-app "프로젝트명"을 사용하여 React Application을 만듭니다. npx create-react-app react-electron 리액..
codegear.tistory.com
보다 더 개발이 편리한 형태로 환경 구축을 진행해 봅니다.
이 환경을 기반으로 일렉트론 실전 프로젝트를 진행할 예정입니다.
npx create-react-app을 이용해 react-electron이라는 React 프로젝트를 만듭니다.
npx create-react-app react-electron프로젝트 폴더로 이동후 vscode(visual studio code)를 실행합니다.
cd react-electron code .vscode의 터미널을 열고 yarn start로 프로젝트를 실행하여 프로젝트가 잘 작동하는지 확인합니다.
yarn start프로젝트에 일렉트론 패키지를 추가합니다.
- electron 패키지는 개발시에만 사용하므로 --dev 옵션을 사용합니다.
yarn add --dev electronpackage.json에서 electron 관련 설정을 추가합니다.
- "main": "src/main.js" --> 일렉트론의 entry point를 main.js로 설정
- "electron": "electron ." --> 일렉트론 실행 스크립트
{ ... "main": "src/main.js",
  ... "scripts": {
       ... "electron": "electron ."
       }
  ...
}
src/main.js를 다음과 같이 만듭니다.
- 이때 리액트 화면을 일렉트론에서 보여주기 위해서,
- win.loadFile을 win.loadURL("http://localhost:3000")로 변경합니다.
const { app, BrowserWindow } = require('electron')
const path = require('path')
function createWindow () {
  const win = new BrowserWindow({
    width: 800,
    height: 600,
    webPreferences: {
      nodeIntegration: true,
      contextIsolation : false
    }
  })
  win.loadURL("http://localhost:3000")
}
app.whenReady().then(() => {
  createWindow()
})
app.on('window-all-closed', function () {
  if (process.platform !== 'darwin') app.quit()
})
Electron과 React를 같이 실행하기 위해 다음 패키지를 추가합니다.
- concurrently : 일렉트론과 리액트 프로세스를 동시에 실행하기 위해 사용합니다.
- wait-on : 프로세스 동시 수행시 한개의 프로세스가 완료되기를 기다리다 완료된 후 다음 프로세스를 수행하게 만들어 줍니다.
yarn add --dev concurrently wait-onpackage.json에 스크립트를 변경합니다.
- start 스크립트 수행시 concurrently를 이용해 react와 electron을 같이 시작하게 합니다.
- electron 스크립트는 react가 완료되길 기다린 후 실행하게 합니다.
"scripts": {
"start": "concurrently \"yarn react-scripts start\" \"yarn electron\" ",
"build": "react-scripts build",
"test": "react-scripts test",
"eject": "react-scripts eject",
"electron": "wait-on http://localhost:3000 && electron ."
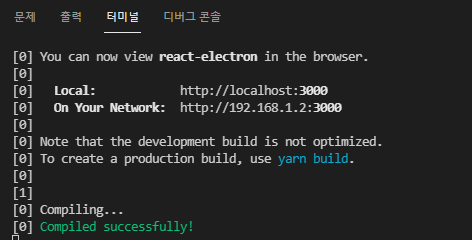
},프로젝트를 실행합니다.
yarn start이때 브라우저가 창이 먼저 뜨고 electron이 실행됩니다. 브라우저 창은 불필요하므로 띄우지 않도록 환경 설정을 합니다.
- 루트 폴더에 .env 파일을 만들고, 다음 내용을 추가합니다.
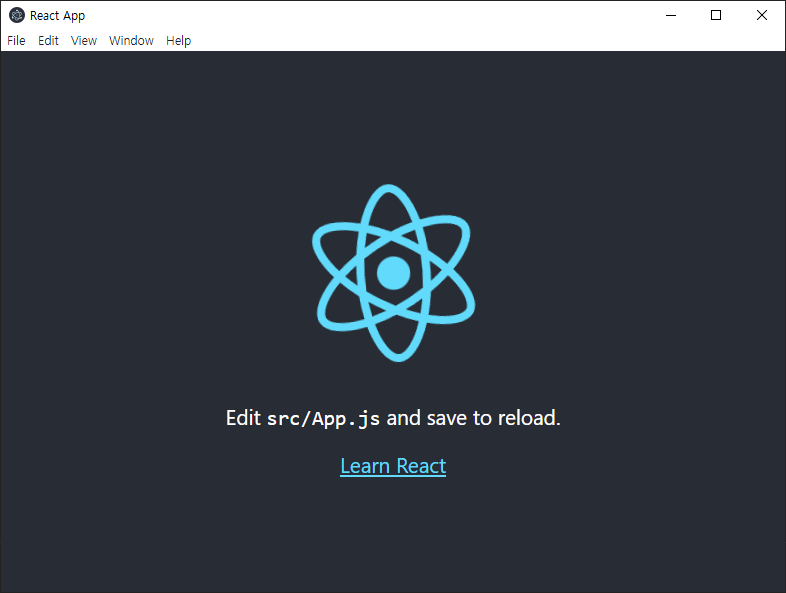
BROWSER=none다시 실행하면 다음과 같이 일렉트론에서 리액트를 실행한 화면이 나옵니다.
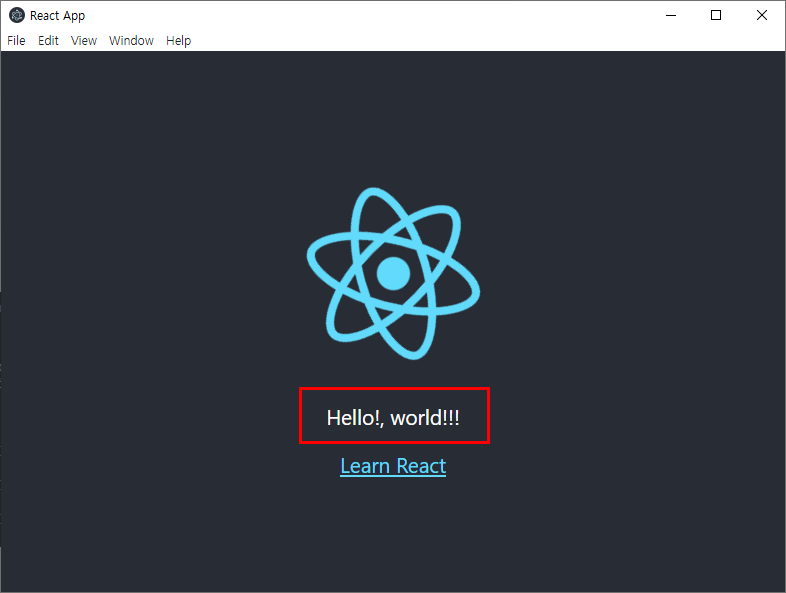
소스 코드 변경 후 화면이 바로 변경되는지 확인합니다.
- App.js에서 다음 코드를
<p> Edit <code>src/App.js</code> and save to reload. </p>- 아래 코드로 변경합니다.
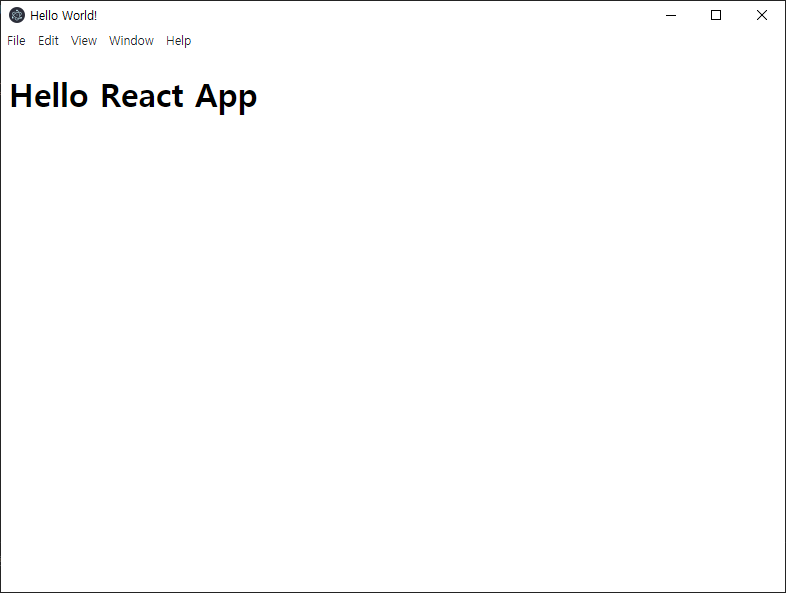
<p> Hello! World. </p>파일을 저장하면 다음과 같은 화면이 보입니다.
- 소스 변경시 자동 반영되는 것을 "hot deploy"라고 합니다.
변경된 화면은 다음과 같습니다.
이상으로 일렉트론과 리액트를 이용한 개발환경 구성을 마쳤습니다.
리액트를 좀 아시는 분이라면 이 환경에서 편하게 개발을 하실 수 있습니다.
수고하셨습니다.
'일렉트론' 카테고리의 다른 글
| 일렉트론기초-14.Electron + Vue.js (0) | 2022.03.06 |
|---|---|
| 일렉트론기초-13.Electron + React로 IPC 통신하기 (0) | 2021.11.13 |
| 일렉트론기초-11.일렉트론 MySQL 연동 (0) | 2021.10.30 |
| 일렉트론기초-10.일렉트론 사이드 메뉴 만들기 (0) | 2021.10.09 |
| 일렉트론기초-09.일렉트론 커스텀 타이틀바 만들기-프로그램개발(IPC) (0) | 2021.10.04 |
| 일렉트론기초-08.일렉트론 커스텀 타이틀바 만들기-화면디자인 (0) | 2021.10.04 |
| 일렉트론기초-07.일렉트론 화면 개발하기 (0) | 2021.10.03 |
| 일렉트론기초-06.일렉트론 메뉴 추가하기 (0) | 2021.10.01 |