반응형

이 포스트의 동영상 강의 URL
리액트 프로젝트를 만들기
- npx create-react-app s3-react-file-upload
패키지 추가
- npm i aws-sdk
- npm i reactstrap
컴포넌트 생성
- S3Upload.js
코드 작성
- import
import './App.css';
import {useState} from "react";
import AWS from 'aws-sdk';
import { Row, Col, Button, Input, Alert } from 'reactstrap';- 변수 선언
const [progress , setProgress] = useState(0);
const [selectedFile, setSelectedFile] = useState(null);
const [showAlert, setShowAlert] = useState(false);- s3 정보를 설정합니다.
const ACCESS_KEY = 'IAM의 ACCESS KEY';
const SECRET_ACCESS_KEY = 'IAM의 SECRET ACCESS KEY';
const REGION = "ap-northeast-2";
const S3_BUCKET = 'codegear-react-file-upload-test-bucket';

AWS.config.update({
  accessKeyId: ACCESS_KEY,
  secretAccessKey: SECRET_ACCESS_KEY
});

const myBucket = new AWS.S3({
  params: { Bucket: S3_BUCKET},
  region: REGION,
});- 파일 선택시 function
const handleFileInput = (e) => {
  const file = e.target.files[0];
  const fileExt = file.name.split('.').pop();
  if(file.type !== 'image/jpeg' || fileExt !=='jpg'){
    alert('jpg 파일만 Upload 가능합니다.');
    return;
  }
  setProgress(0);
  setSelectedFile(e.target.files[0]);
}- upload 버튼 click시 function
const uploadFile = (file) => {
  const params = {
    ACL: 'public-read',
    Body: file,
    Bucket: S3_BUCKET,
    Key: "upload/" + file.name
  };

  myBucket.putObject(params)
    .on('httpUploadProgress', (evt) => {
      setProgress(Math.round((evt.loaded / evt.total) * 100))
      setShowAlert(true);
      setTimeout(() => {
        setShowAlert(false);
        setSelectedFile(null);
      }, 3000)
    })
    .send((err) => {
      if (err) console.log(err)
    })
}
html
 return (
    <div className="App">
      <div className="App-header">
        <Row>
          <Col><h1>File Upload</h1></Col>
        </Row>
      </div>
      <div className="App-body">
        <Row>
          <Col>
            { showAlert?
              <Alert color="primary">업로드 진행률 : {progress}%</Alert>
              :
              <Alert color="primary">파일을 선택해 주세요.</Alert>
            }
          </Col>
        </Row>
        <Row>
          <Col>
            <Input color="primary" type="file" onChange={handleFileInput}/>
            {selectedFile?(
              <Button color="primary" onClick={() => uploadFile(selectedFile)}> Upload to S3</Button>
            ) : null }
          </Col>
        </Row>
      </div>
    </div>
  );
App.css
.App-body {
  background-color: #6d7b97;
  min-height: 50vh;
  display: flex;
  flex-direction: column;
  align-items: center;
  justify-content: center;
  font-size: calc(10px + 2vmin);
  color: white;
}

.App-body .alert-message {
  height: 50px;
  background-color: #61dafb;
}
App.js에 S3Upload 컴포넌트 추가
App.js에 S3Upload 컴포넌트를 추가합니다.
  return (
    <S3Upload/>
  );
빌드
터미널에서 다음 스크립트를 실행합니다.
npm run build
빌드 후 프로젝트폴더/build에 생성 된 파일들

s3에 애플리케이션 업로드
build 폴더 아래에 있는 모든 파일을 s3에 업로드합니다.

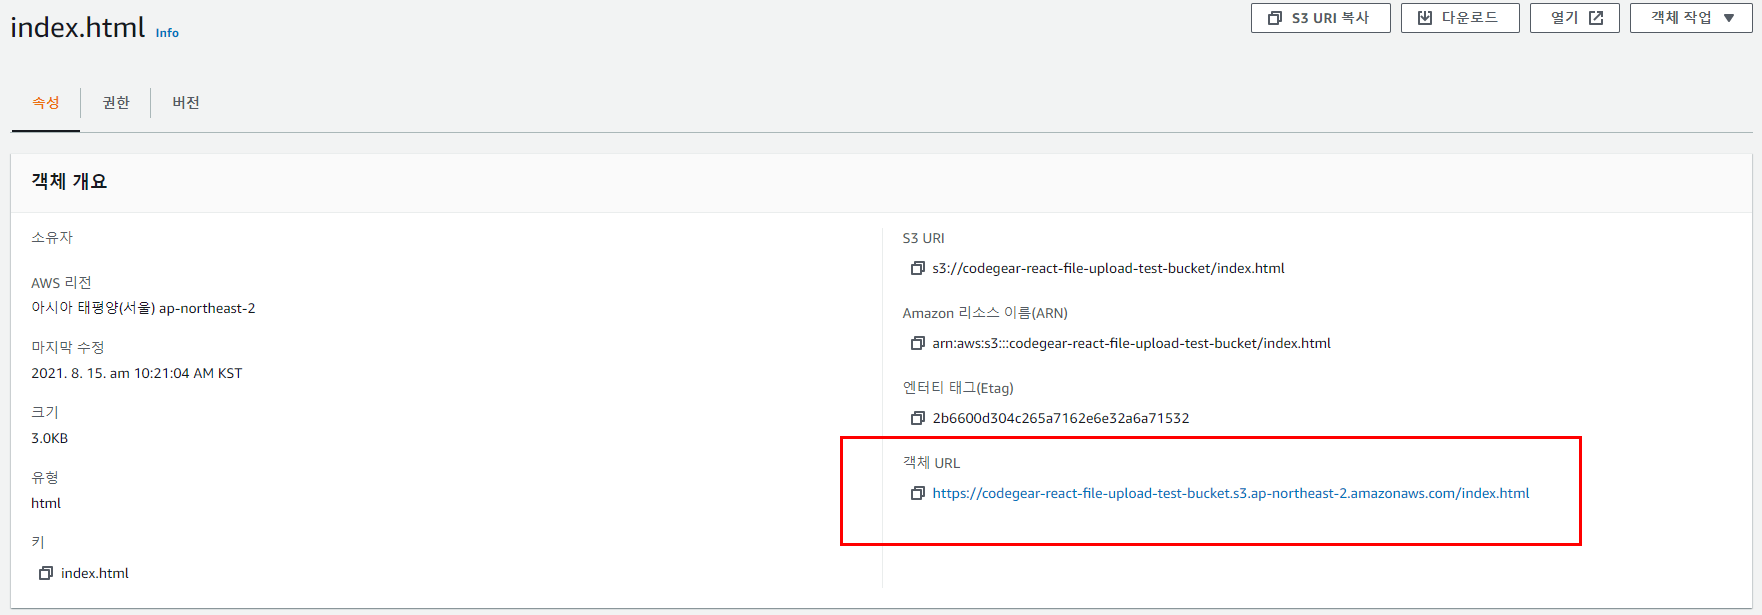
index.html URL 확인
index.html을 클릭해서 속성의 url을 확인한 후 브라우저에서 실행합니다.
권한 설정 변경
아래와 같이 접근오류가 발생할 경우

s3에 업로드한 모든 파일을 선택후 -> 퍼블릭으로 설정해줍니다.

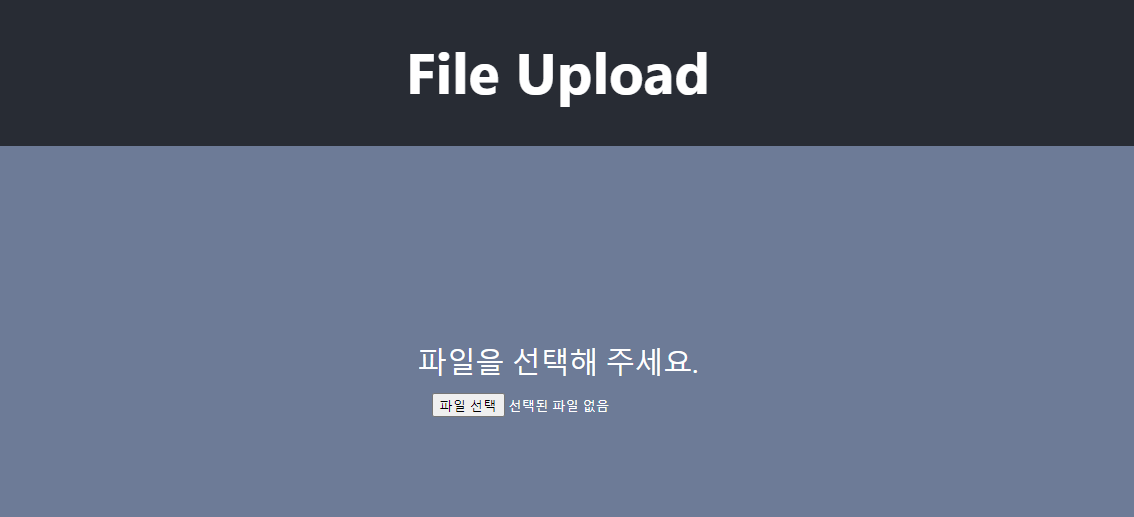
최종화면
다시 index.html에 접속해보시면 다음과 같이 화면이 나옵니다.
반응형
'Frontend' 카테고리의 다른 글
| Vuejs(Nuxtjs) 날짜포맷 filter 사용법(Date format filter) (0) | 2022.05.14 |
|---|---|
| 리액트활용-02.리액트로 카카오지도 페이지 만들기 2/2 (0) | 2021.09.26 |
| 리액트활용-02.리액트로 카카오지도 페이지 만들기 1/2 (0) | 2021.09.26 |
| 리액트기초-04.자동생성된 React 소스 분석 (0) | 2021.09.06 |
| 리액트활용-01.aws s3에 React를 이용한 file upload 기능 만들기 1/2 (0) | 2021.08.12 |
| 리액트기초-03.Visual Studio Code 설치 (0) | 2021.08.12 |
| 리액트기초-02.React 프로젝트 만들기(create-react-app) (0) | 2021.08.10 |
| 리액트기초-01.React 환경 설정 (Nodejs 설치) (0) | 2021.08.10 |