이 글의 동영상 강의
https://youtu.be/eo16edDyau0
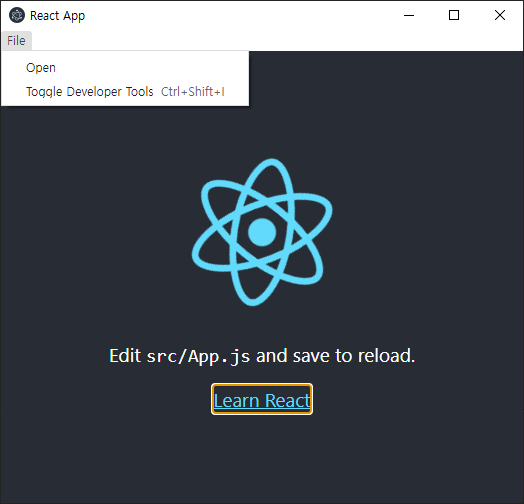
일렉트론의 디폴트 타이틀바를 없애고 새로운 타이틀바를 만드는 방법을 배워봅니다.
fontawesome 설치
- 타이틀바에 들어갈 icon은 fontawesome을 설치하여 사용합니다.
- google에서 fontawesome 검색합니다.
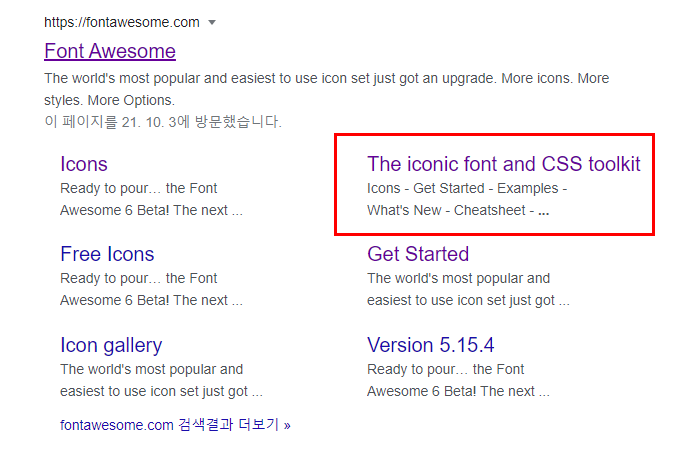 fontawesome
- The iconic font and CSS toolkit 선택합니다.
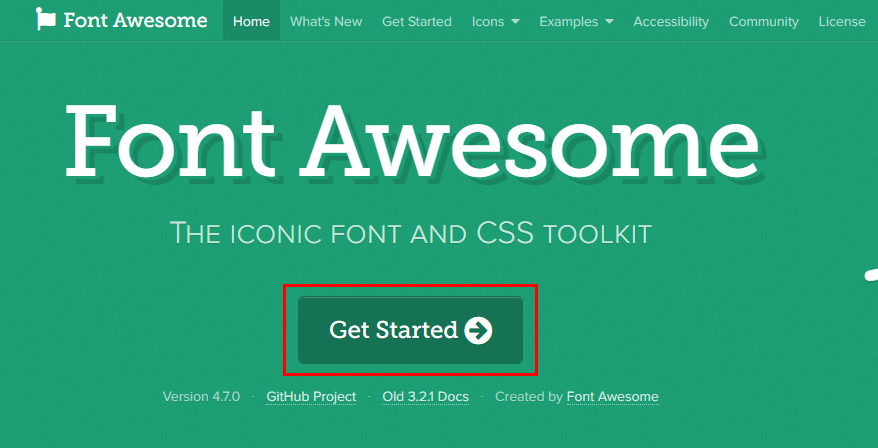 Get Started
 Font Awesome 4
 Download
- Download를 선택합니다.
- download 받은 파일을 src/font-awesome에 압축 해제합니다.
일렉트론 애플리케이션 화면 상단에 메뉴바를 만들기
- index.html에 fontawesome css를 추가합니다.
<link rel="stylesheet" href="./font-awesome/css/font-awesome.min.css">
- 앞에 google에서 조회한 fontawesome의 Free Icons 사이트로 이동합니다.
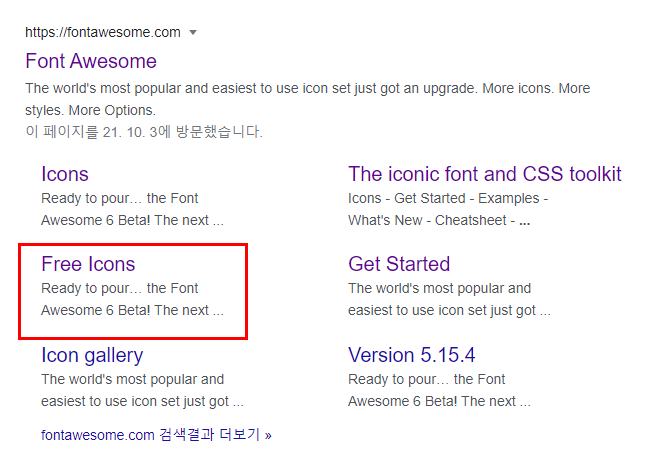 Free Icons
- icon 검색 창에서 minimize를 검색합니다.
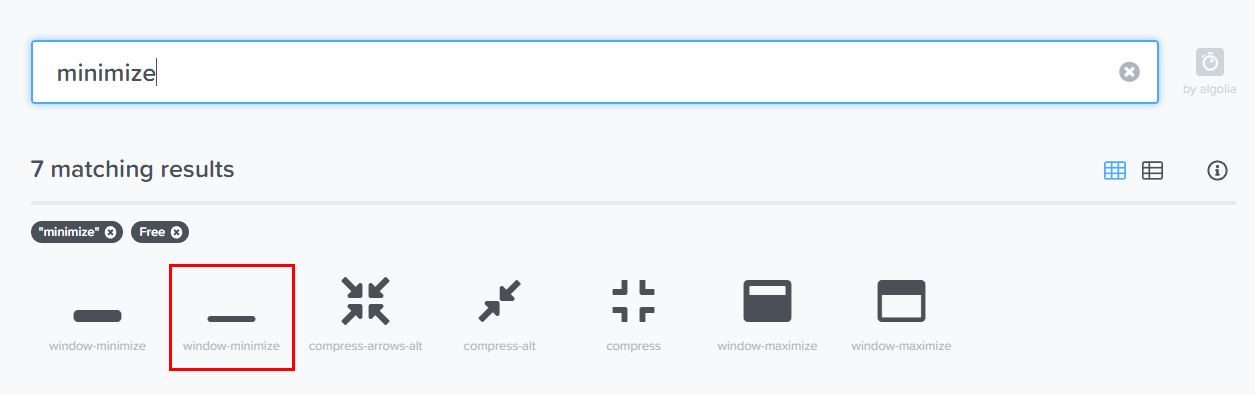 minimize
 window-minimize icon
- 다음과 같이 index.html에 아이콘을 추가합니다.
<button id="min">
  <i class="fa fa-window-minimize"></i>
</button>
- maximize, close 아이콘도 동일한 방법으로 추가합니다.
<button id="min">
  <i class="fa fa-window-minimize"></i>
</button>
<button id="max">
  <i class="fa fa-window-maximize"></i>
</button>
<button id="close">
  <i class="fa fa-window-close"></i>
</button>
- index.html 전체 코드는 다음과 같습니다.
<!DOCTYPE html>
<html>
  <head>
    <meta charset="UTF-8">
    <title>Hello World!</title>
    <link rel="stylesheet" href="index.css">
    <link rel="stylesheet" href="./font-awesome/css/font-awesome.min.css">
  </head>
  <body>
    <div class="container">
      <div class="title-bar">
        <div class="title prevent-select draggable">Custom Title Bar</div>
        <div class="control prevent-select">
          <button id="min">
            <i class="fa fa-window-minimize"></i>
          </button>
          <button id="max">
            <i class="fa fa-window-maximize"></i>
          </button>
          <button id="close">
            <i class="fa fa-window-close"></i>
          </button>
        </div>
      </div>
    </div>
  </body>
</html>
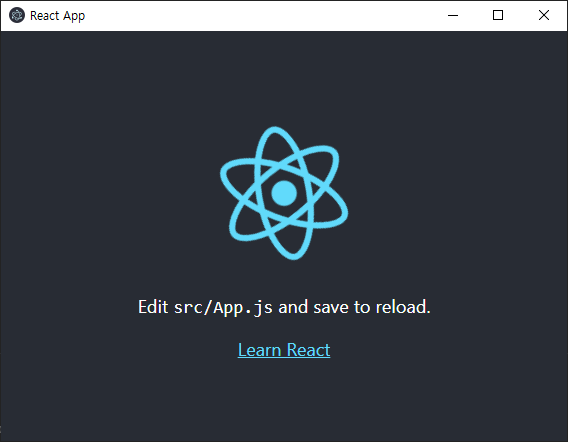
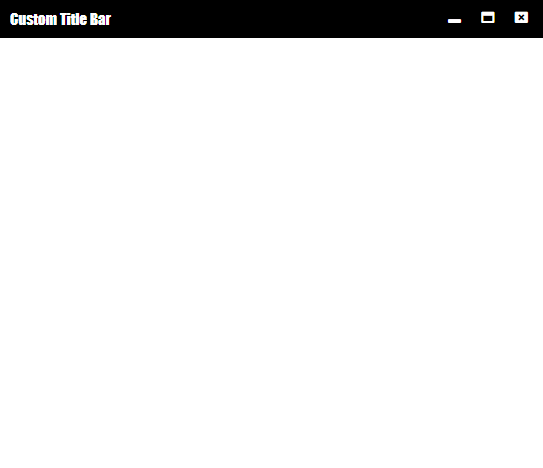
npm start
 실행화면
실행화면
body {
  font-family: -apple-system, BlinkMacSystemFont, "Segoe UI", Roboto, Helvetica, Arial, sans-serif;
  margin: 0px;
}

body *{
  box-sizing: border-box;
}

.container{
  height: 100%;
  padding: 0;
  display: grid;
  grid-template-rows: auto 1fr;
}

.title{
  height: auto;
  padding: 10px;
  display: inline-block;
}

.control{
  float: right;
  display: grid;
  grid-template-columns: 1fr 1fr 1fr;
  margin-top: 5px;
  margin-right: 5px;
  width: 100px;
}

.control button{
  padding: 5px;
  background: #000000;
  color: #ffffff;
  outline: 0;
  border: 0;
}

.control button:hover{
  background: #444444
}

.title-bar{
  background: #000000;
  font-family: Impact, Haettenschweiler, 'Arial Narrow Bold', sans-serif;
  color: #ffffff;
  font-size: 15px;
}

.prevent-select{
  user-select: none;
  -webkit-touch-callout: none;
  -webkit-user-select: none;
}

.draggable{
  -webkit-app-region: drag;
}
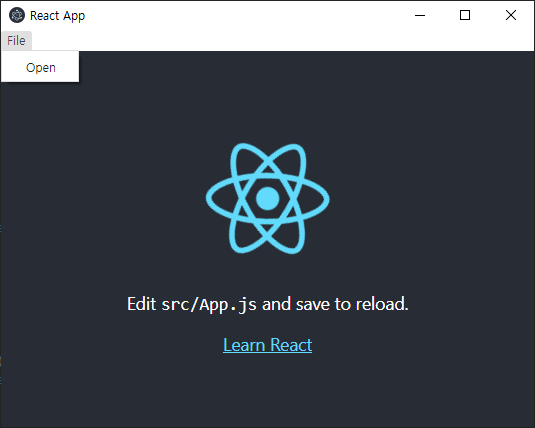
npm start
 디자인 완성화면
Custom Title Bar의 디자인이 완성되었습니다.